Moss Removal From Roof: Expert Advice on Keeping Your Roof Clean and Moss-Free
Tired of fighting moss on your roof? Moss not only ruins your home’s appearance but can also damage your roof. Learn how to prevent moss buildup, extend your shingles’ lifespan, and keep your roof spotless. Whether it’s simple maintenance or professional tips, this guide has everything you need for a moss removal from roof that enhances your home’s beauty and structure.
Understanding the Causes of Moss Growth
Moss thrives in environments that are moist, shaded, and cool, making rooftops the perfect breeding ground, especially in regions with high humidity or frequent rain. Trees shading your roof can exacerbate the issue by not only providing more shade but also dropping debris that retains moisture, further facilitating moss growth. Poor drainage and inadequate sunlight exposure also contribute to creating an ideal habitat for moss. By identifying these underlying conditions, homeowners can take the first step toward effective moss prevention and maintenance.
Benefits of Moss Removal from Your Roof
Removing moss from your roof is not just an aesthetic improvement; it’s crucial for the longevity and functionality of your roofing system. Firstly, eliminating moss can prevent water damage, as moss retains moisture against the roof surface, potentially leading to leaks and structural weakening over time. Additionally, by removing moss, you enhance the lifespan of your shingles. Moss can lift and separate shingles from the rooftop, making them more susceptible to wind damage and reducing their overall effectiveness in protecting your home. Furthermore, maintaining a moss-free roof can improve your home’s energy efficiency. Moss can block reflective surfaces, causing your roof to absorb more heat and forcing your cooling systems to work harder. Lastly, regular moss removal keeps your roof in compliance with warranty specifications, ensuring that you remain covered under any warranty terms for your roofing materials.
Tips on How to Remove Moss from Your Roof
Removing moss from your roof requires careful attention to prevent damage to your roofing materials. Here are effective methods to help you get started:
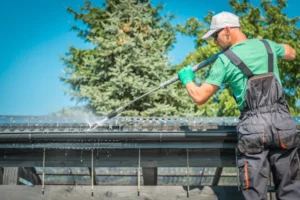
- Gentle Manual Removal: Using a soft brush or a leaf blower, gently remove moss from the shingles. Avoid using a power washer, as the high pressure can damage the roofing materials. Always brush downward to avoid lifting shingles.
- Chemical Treatments: Apply moss-killing chemicals, available in liquid or powdered form, according to the manufacturer’s instructions. Be sure to choose a product that is environmentally friendly and won’t harm your landscaping or corrode your roofing materials.
- Zinc or Copper Strips: Installing zinc or copper strips along the ridge of your roof can prevent moss growth. When rainwater touches these metal strips, it creates an environment that is toxic to moss, inhibiting its growth along the roof.
- Improve Drainage and Sunlight Exposure: Trim overhanging branches to reduce shade and moisture on your roof, which are prime conditions for moss growth. Ensure gutter cleaning to improve water drainage.
- Professional Help: If the moss infestation is severe, or if you’re uncomfortable climbing onto your roof, consider hiring a professional roofing contractor. They have the experience, tools, and knowledge to safely and effectively remove moss.
DIY vs Professional Moss Removal
Choosing between DIY and professional moss removal comes down to the scope of the infestation, personal comfort with the task, and potential risks. DIY methods can be effective for minor moss issues and are generally less expensive upfront. Homeowners who are comfortable working on ladders and have the necessary safety gear might find this option appealing. On the other hand, professional moss removal offers several advantages. Professionals have access to more potent treatments and specialized equipment, ensuring the moss is thoroughly eradicated without damaging the roof. They also possess the expertise to spot potential roofing issues that an untrained eye might miss. Considering the risks involved with climbing on roofs and handling chemical treatments, hiring a professional may also be a safer option. Ultimately, if the moss problem is extensive or if the homeowner has any reservations about tackling the job themselves, enlisting professional help is advised to ensure the job is done safely and effectively.
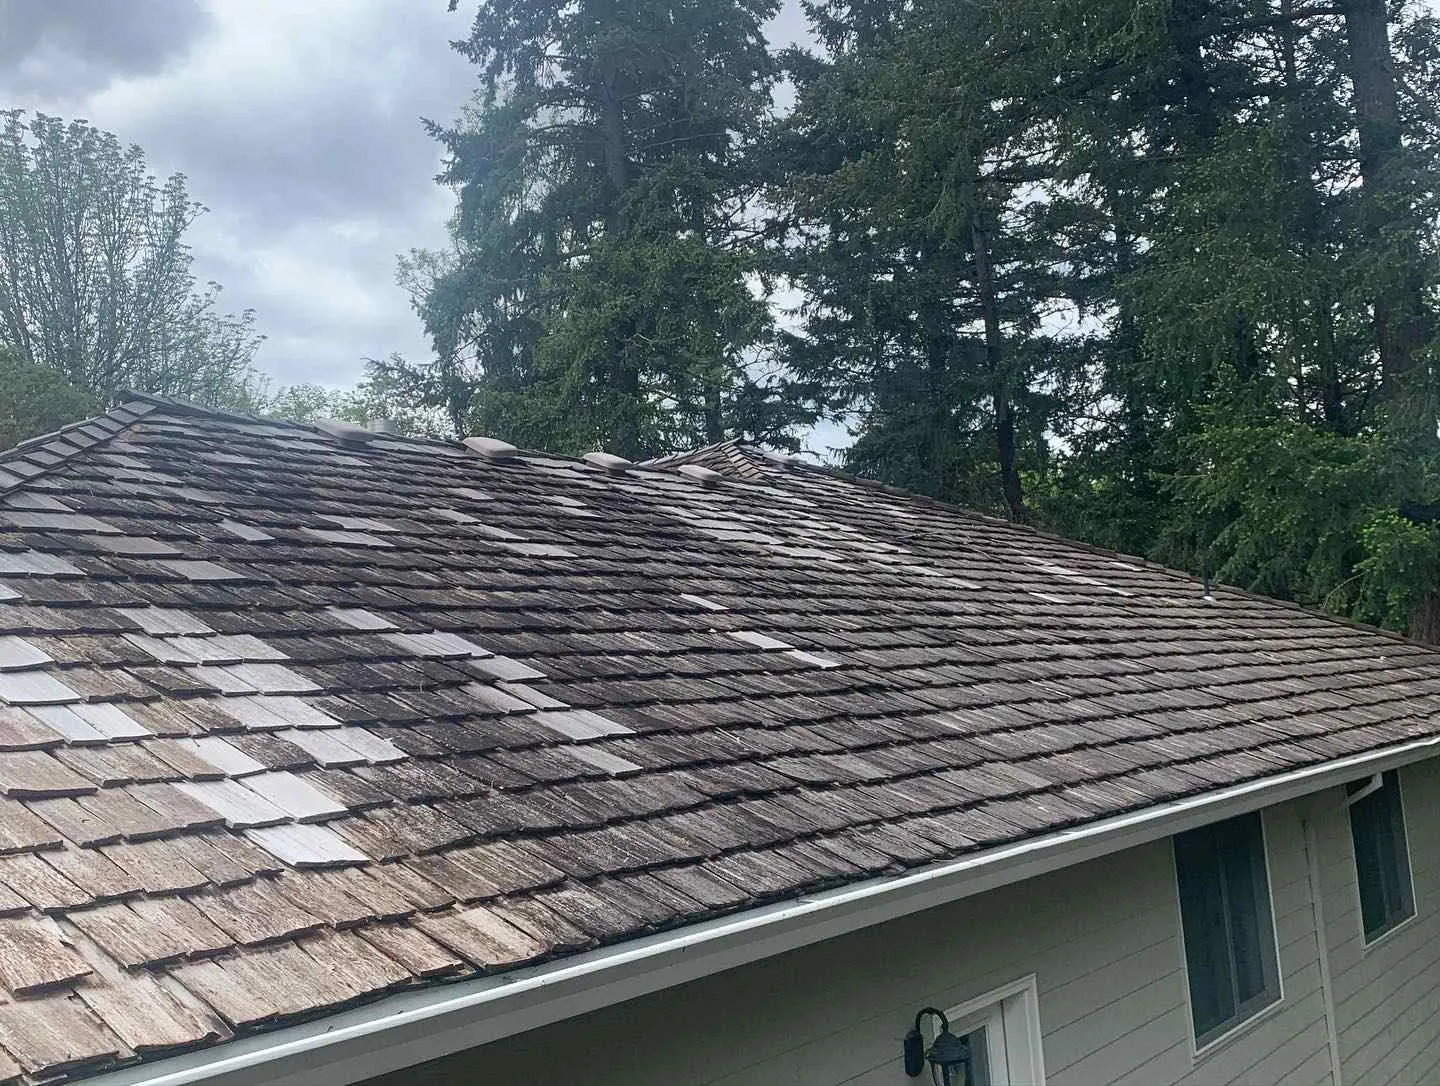
Factors to Consider When Choosing a Moss Remover
When selecting the right moss remover for your roof, several key factors should guide your decision to ensure both effectiveness and safety.
- Ingredient Safety: It’s crucial to choose a moss remover with ingredients that won’t harm your roofing materials, surrounding landscaping, or local ecosystem. Look for eco-friendly options that are specifically labeled as safe for plants and animals.
- Compatibility with Roofing Materials: Ensure that the moss remover is compatible with your specific type of roofing material. Some chemicals may be too harsh for certain shingles or roofing components, potentially causing more damage than the moss itself.
- Efficiency and Duration of Effect: Consider how quickly the product works and how long its effects last. Some moss removers offer immediate results, while others require time to act. Additionally, some products provide a protective barrier that prevents moss from returning, reducing the frequency of treatments needed.
- Application Method: The ease of application is another important consideration. Some products can be applied with a simple garden sprayer, while others might require more specialized equipment. Choose a product that suits your comfort level and ability to safely apply it.
- Environmental Impact: Opt for a moss remover with minimal environmental impact. This includes not only the ingredients but also the packaging and manufacturing process. Sustainable and biodegradable options are preferred for eco-conscious homeowners.
Additional guidance
Comprehensive Guide on Eliminating Roof Moss Effectively
Understanding the various methods for roof moss removal is the first step toward a clear, moss-free roof. However, having a detailed and comprehensive guide can significantly enhance the effectiveness and safety of your endeavor. Here’s an extensive walkthrough to assist you in addressing this common roofing issue.
- Prioritizing Safety: First and foremost, it’s crucial to ensure that your safety is never compromised when undertaking roof maintenance tasks. Working at heights presents inherent risks, so taking appropriate safety measures is essential. Ensure the stability of your ladder before climbing, and always wear shoes that provide excellent traction to minimize the risk of slips. For those who want to take extra precautions, securing yourself with a safety harness attached to a solid anchor point can offer additional protection against potential falls. Remember, no task is urgent enough to compromise on safety.
- Clearing the Roof: The initial step in the moss removal process involves clearing your roof of any debris. Over time, roofs can accumulate a variety of organic materials such as sticks, leaves, and other detritus. These not only contribute to moss growth by providing it with nutrients but can also obstruct the removal process. Taking the time to clear your roof thoroughly will facilitate a smoother moss removal process and aid in preventing future moss outbreaks.
- Moistening the Moss: This next step involves preparing the moss for removal by wetting it. A garden hose equipped with a spray nozzle is perfect for this task. Carefully douse the mossy areas with water. In cases of minor moss growth, this action alone might suffice, making the moss loosen without necessitating further intervention. The moisture will make the moss less adherent to the roof, thereby simplifying its removal and reducing the risk of damaging your roofing materials.
- Application of Removal Techniques: Now it’s time to choose your preferred moss removal method. This decision may vary based on the extent of the moss growth, environmental considerations, and the specific materials of your roof. Options range from mechanical scraping (for those who prefer a more hands-on approach) to applying chemical treatments or homemade solutions designed to kill the moss. It’s imperative to follow the application instructions meticulously to ensure effective moss removal while safeguarding your roof’s integrity. Avoid the use of abrasive tools that could harm the roofing material.
- Rinsing and Preventative Measures: After treating the moss, it’s advisable to wait for the recommended period based on the moss removal method employed before proceeding to rinse the roof. This waiting period allows the treatment to thoroughly penetrate and act on the moss. Use a gentle stream from a hose or a low-pressure washer to rinse the area, being cautious not to dislodge or damage any roof shingles. Post-cleanup, applying a moss prevention product or measure can be incredibly beneficial. Moss preventatives can significantly extend the period before any new growth occurs, maintaining the aesthetic and structural integrity of your roof for longer.
Prevention is Key
The battle against moss doesn’t end once it’s removed. Preventative measures are essential to keeping moss at bay and maintaining your roof’s health over time.
Trimming Overhanging Trees
Adequate sunlight and air are key to keeping moss from taking hold on your roof. Trimming back branches and foliage can help achieve this and reduce the debris that falls onto your roof.
Installing Zinc or Copper Strips
These metal strips, when mounted near the ridge of your roof, release ions that are toxic to moss. Over time, this can provide continuous protection against moss growth.
Regular Roof Checks
Schedule regular roof inspections, or perform them yourself if you’re comfortable, to catch moss growth in its early stages and address it before it becomes a larger problem.
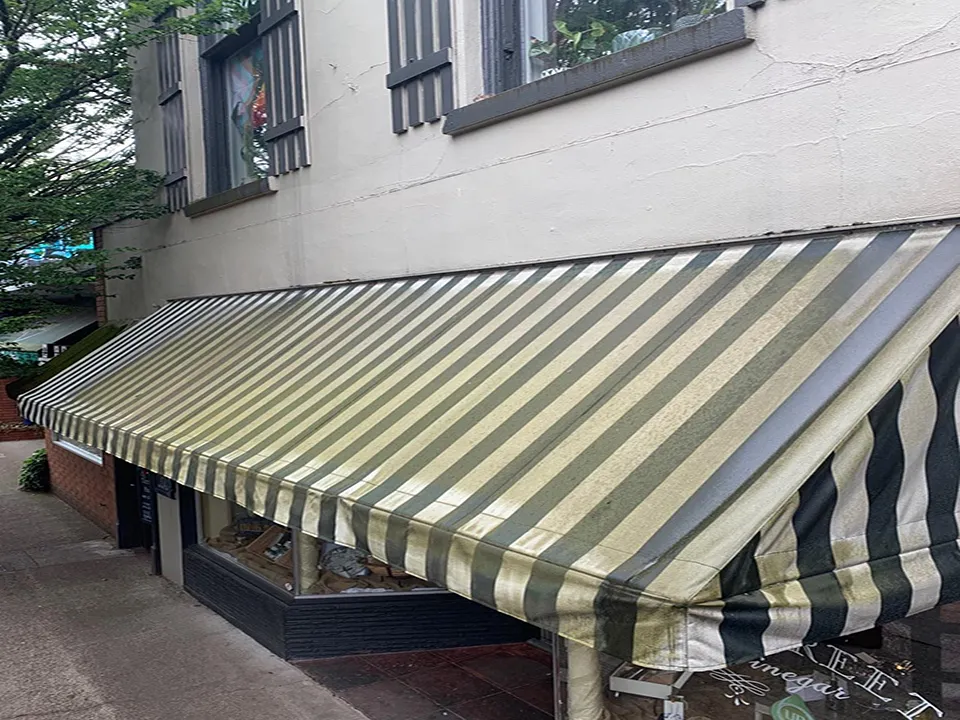
Maintenance Tips for a Moss-Free Roof
Maintaining a clean and moss-free roof requires regular attention and preventive measures. Here are some essential tips to help homeowners keep their roofs in optimal condition:
- Regular Inspection and Cleaning: Schedule regular roof inspections and cleanings at least twice a year, ideally in the spring and fall. This routine helps identify moss growth early and prevents it from becoming a larger issue.
- Keep Gutters Clear: Ensure that gutters and downspouts are free of leaves and debris. A clogged gutter system can cause water to pool on the roof, creating a favorable environment for moss.
- Trim Overhanging Branches: Cutting back trees and shrubs to allow more sunlight onto the roof helps to dry out any moisture, making it less inviting for moss.
- Ensure Proper Ventilation: Good attic ventilation prevents moisture buildup under the roof, discouraging moss growth. Check that your attic vents are not blocked and function correctly.
- Consider Preventive Treatments: After cleaning, applying preventive moss treatment products can help deter moss from returning. Choose environmentally safe options that won’t damage your roofing material or harm surrounding vegetation.
In conclusion, dealing with moss on your roof is an essential task that not only enhances the aesthetic appeal of your home but also contributes to the longevity and health of your roofing system. Whether choosing to tackle moss removal as a DIY project or opting for professional services, it’s vital to consider the safety of the ingredients, compatibility with roofing materials, application methods, and the environmental impact of the products used. Regular roof maintenance, including inspections, cleaning, and preventive treatments, is key to preventing moss growth. By following these guidelines and maintaining diligence in roof care, homeowners can ensure a durable, functional, and moss-free roof.
https://www.google.com/maps?cid=9581861370272832557